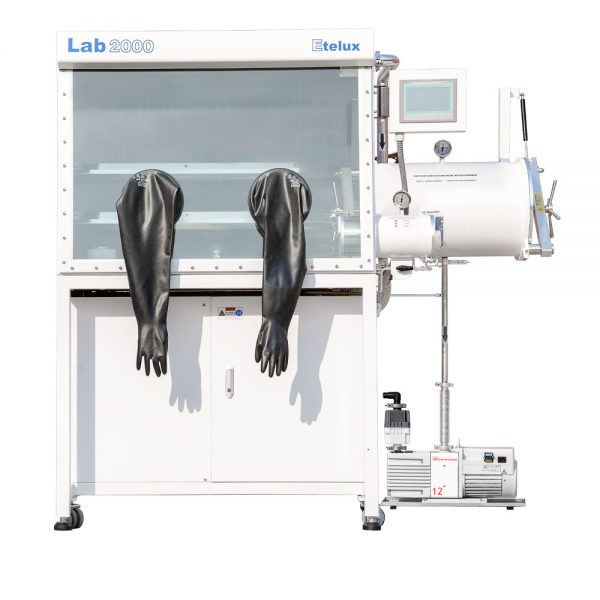
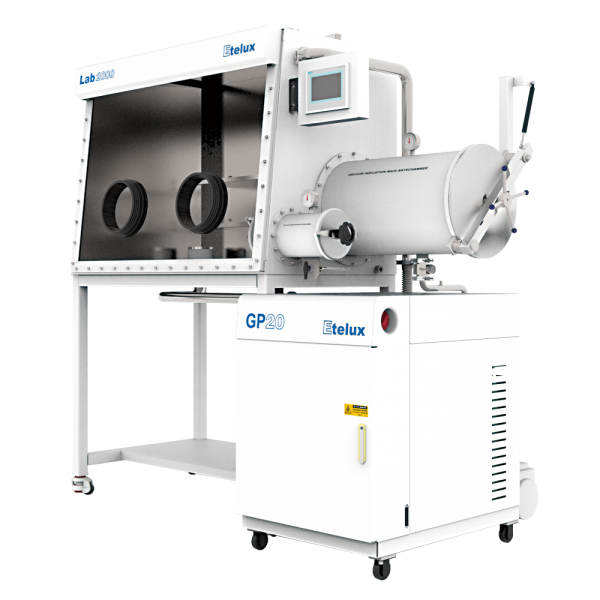


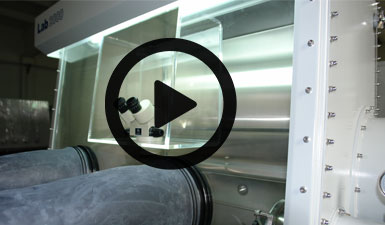


- Prepare the Glove Box: Ensure that the glove box is properly set up and sealed to maintain the desired controlled atmosphere within. This typically involves purging the glove box with an inert gas, such as nitrogen or argon, to remove moisture and oxygen.
- Position the spin Coater: Place the coater at the desired location within the glove box. Ensure there is sufficient space for operation and any necessary connections, such as power or gas supply lines.
- Secure the Coater: Use appropriate mounting or securing mechanisms, such as clamps or brackets, to ensure the coater is stable and fixed in place within the glove box. This will prevent movement or displacement during operation.
- Make Connections: Connect any required cables, hoses, or pipes from the coater to external sources, such as power supplies, gas sources, or exhaust systems. Ensure the connections are properly sealed to maintain the integrity of the controlled environment.
- Test and Verify: Before initiating the coating process, perform tests and verifications to ensure all connections are functioning correctly and there are no leaks or faults in the system. Test the coater’s functionality within the glove box environment to confirm smooth operation.
- Begin Coating Process: Once all preparations are complete, and the glove box is ready, initiate the coating process according to the specific instructions and settings of the coater. This may involve loading substrates, adjusting parameters, and running the coater in accordance with the desired coating procedure.
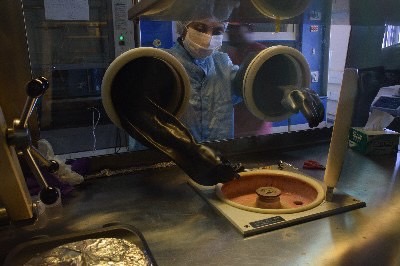
By following these steps, the coater can be effectively submerged within the glove box, allowing for coating processes to be carried out in a controlled environment with minimal exposure to contaminants.