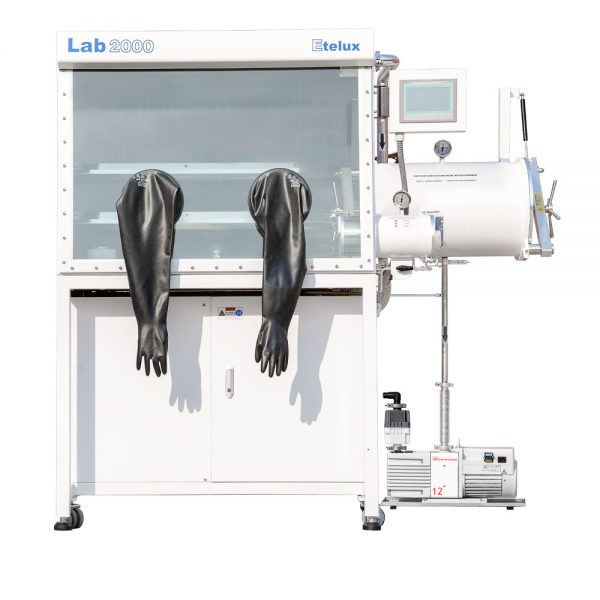


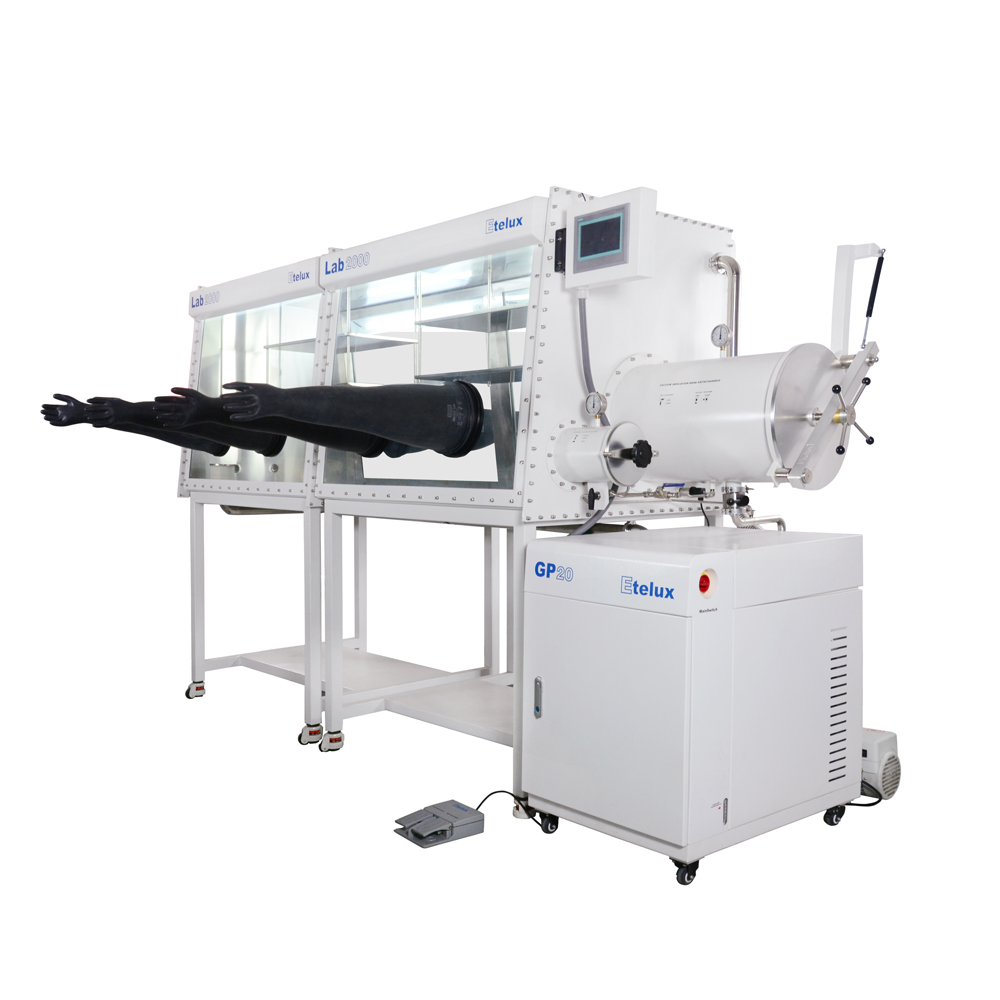
The glove box is a sophisticated piece of equipment. Not only does it have to be completely sealed, but it also has to be controlled for water and oxygen as well as filled with various inert gases. Among the components of the glove box, the gloves are more prone to wear and tear. As a necessary tool for experimental operations, frequently used gloves may break after a period of time. For the fully enclosed glove box, the glove breakage will have an impact on the normal use of the glove box. So once found should be replaced in time.
Basic steps for glove replacement:
Before replacing the glove, the circulation of the running glove box should be turned off. Use the foot switch to adjust the box pressure. Turn on the vacuum pump and step on the foot pedal to adjust the amount of box pressure.
1. Push the glove to be replaced into the box.
2. Remove the outer sealing ring and move the inner sealing ring to the outer slot of the glove opening;
3. Roll the glove onto the outside sealing ring edge, being careful not to let the glove fall off the glove opening;
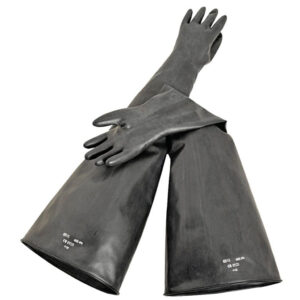
4. Turn the new glove thumb-side up and compress the glove as much as possible to drive out the air inside;
5. Install the new glove onto the glove opening over the old glove, with the outer ring of the new glove over the innermost ring of the glove opening. Push the new glove inward and pull on the glove ring opening to expel the gas;
6. Install the sealing ring on the outside of the new glove, over the groove inside the glove opening;
7. Remove the old glove into the box with the other glove from inside the glove box;
8.Install the seal on the outside of the new glove, on the slot on the outside of the glove opening;
9. Remove the old glove through the transition chamber for proper disposal.
Note that in order to prolong the life of the glove box, when using the glove box, you should not have long fingernails or wear sharp objects (e.g., watches, rings, jewelry, etc.).
If you have any questions, please contact me at ella@etelux.com.